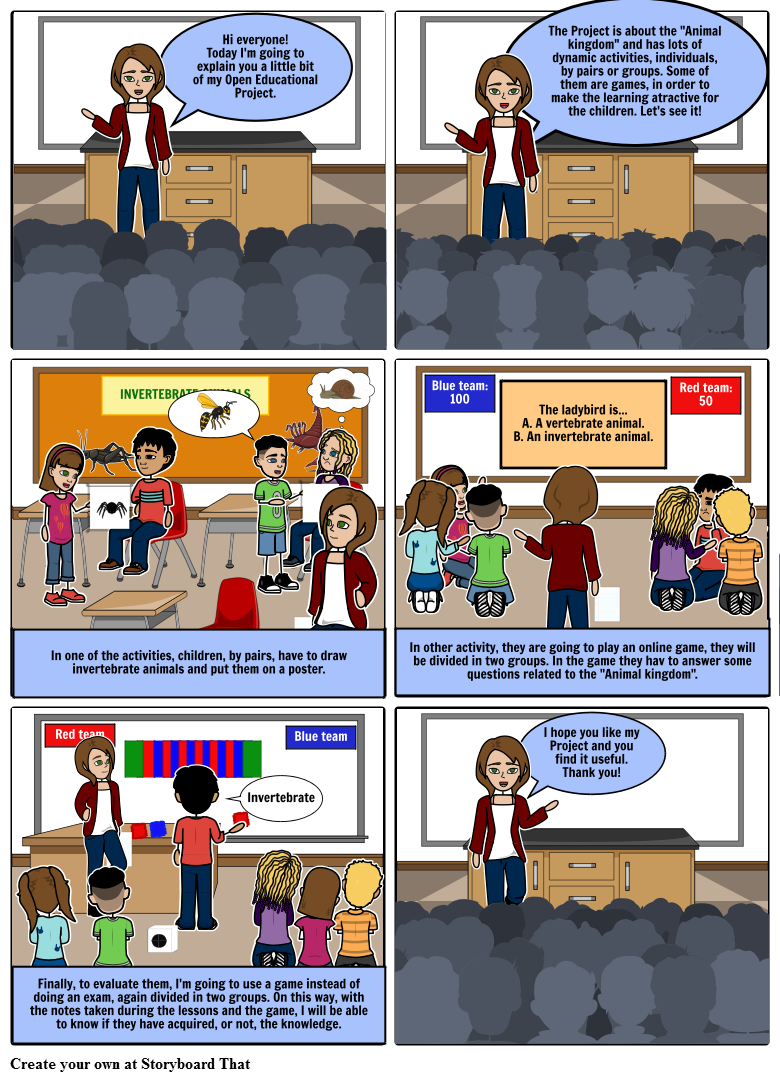
Hi everyone!
On this post I am going to continue talking about Collaborative Projects. If you do not know what I am talking about, you can go to my previous post to see it.
Today, I am going to choose a Collaborative Project to collaborate with. When I started to prototype my Educational Project I make it thinking only in use it with my class children and later, I discover the collaborative learning so I make some activities for the children to collaborate between them.
This is similar, but not the same, that is, now I am going to collaborate with other people's projects, sharing my own Project and adapting it to accomplish all the requirements.
The first thing that I made, was visit lots of Collaborative Projects to chose one. This is not as easy at it sounds, because there are several project that have something that I like. The Project that I like the most is "No me cuentes historias, ¡dibújamelas!". What they do, is explain the content by using draws or ask for the children to draw what they have learnt from the explanation, so they can see the content. I like this the most because we learn 80% of what we see, and it is important for me to motivate the students and make the lessons easier for them. Here you can see their Project:
http://dibujamelas.wixsite.com/dibujamelas
Once I know which project I am going to collaborate with I made an Elevator Pitch, this is a short video (20 seconds) in which you have to explain your Project in order to sell your product, find financial support or like me, explain how my Project could contribute to "No me cuentes historias,¡dibújamelas!" Project, by using WeVideo, you can see here the result:
This new tool is useful to create videos because you can upload or record a video or audio, ad text or transitions and finally, upload the result where you want, that is, dropbox, YouTube, Facebook and so on, or download it for you and your students. Before recording the video, I made a draft to know what to say in my elevator pitch:
- Hook: Do you know how difficult can be motivate our students?
- Problem: Nowadays, children have lots of distractions so, motivate them to study can be difficult for us.
- Solution: With my Poject, I am going to motivate and make them love Science, by using visual tools.
- Close: So I hope you accept me in your Project and I hope you like it. Thank you.
Finally, I recorded the video by using my Smartphone and as I said before, I modified it with WeVideo.
What have I learnt?
Thanks to this challenge, I know new amazing Open Educational Projects that I will take into account in my future clases. I recommend you to look for them because they are very interesting.
In addition, I am developing myself as an innovative teacher, something that seems crucial to me these days.
At the begining, I thought it would be a difficult challenge, but finally, and once I have my Project in mind and what I want to say, I set about it. What I found more difficult was the reording, because it made me nervous and could not explain me. Despite this, I managed to finish it and I think it is a tool that I will use in the future, since it is important to be able to explain and symmarize what you want to express, so I recommend you to try it and tell me.
If you have any doubt or you have tried it, leave a comment. I hope you find it useful and you like it.
